How it works
Four steps from artwork to a file your machine can read.
Steps
1. Bring your artwork
Create a design (choose the hoop and fabric), then add your artwork with File > Import image, by dropping a file on the canvas, by pasting an image, or by pasting a link.
Clean, high-contrast artwork with flat colours digitizes best. A vector file (SVG or PDF) or a large, sharp PNG gives the sharpest edges.
2. Choose how to digitize
After the upload you pick one of three routes. You can use more than one on the same design.
- Trace it yourself: the image sits behind the canvas and you draw run lines, satin columns and fills over it. Full control.
- Auto-digitize: the software finds the colour regions and builds stitch objects for you, with options for size, number of colours and borders.
- AI design: an AI-assisted analysis plans the objects and builds them. It uses AI credits, and the result is editable stitch objects like any other.
3. Check and edit
Whatever route you took, the result is a normal design: select an object to change its stitch type, angle, density or thread, reorder the sequence, add lettering, fix small details.
Play the stitch-out, step through colour changes, and use the realistic thread view to catch problems before you sew a sample.
4. Export and sew
Open the export dialog, pick the format your machine reads, and download the file. Copy it to the machine's USB stick or card, or send it over whatever route your machine uses.
Always sew a sample on similar fabric first. Fabric, stabiliser and thread change how a design sews, and no software can promise a perfect first stitch-out.
Step-by-step help: import a logo, digitize a fill, export to your machine.
What a stitch-out looks like
Artwork on the left, the sewn result as the stitch engine draws it on the right.
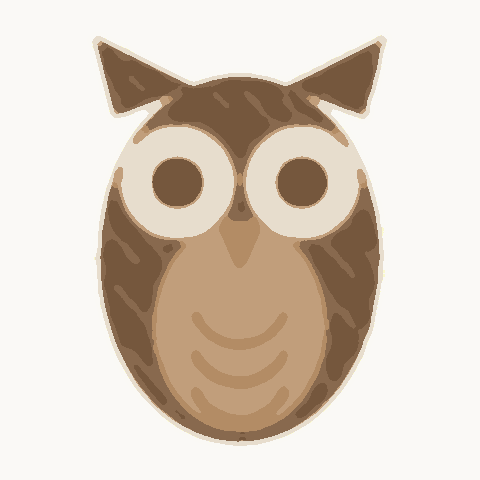
Artwork 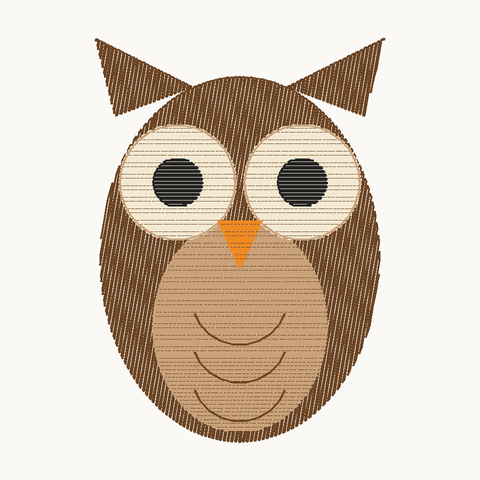
Stitch-out Owl: 7,255 stitches, 60 × 84 mm, 5 colours
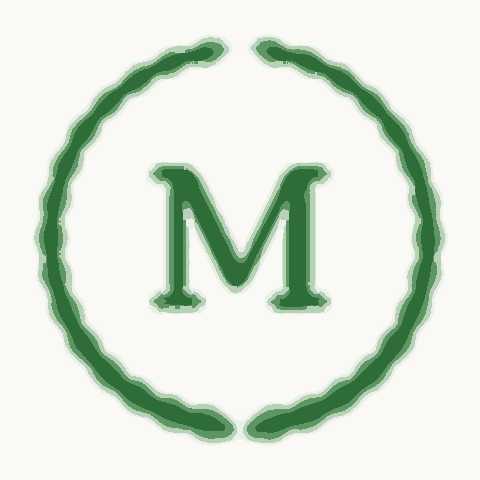
Artwork 
Stitch-out Laurel monogram: 2,728 stitches, 71 × 69 mm, 2 colours